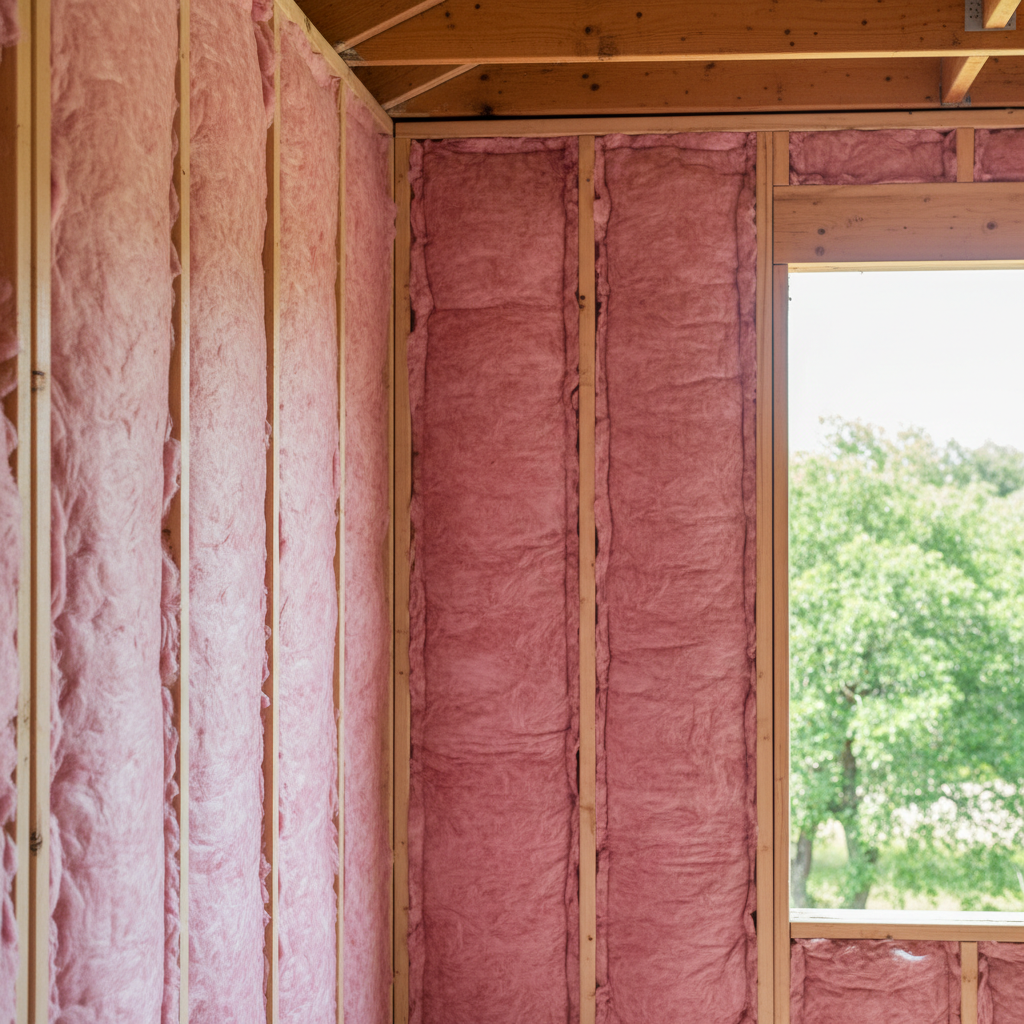
Alright, let's talk batt insulation. You're probably looking at your attic, or maybe a wall you've opened up, and thinking, "Can I just slap some of that pink stuff in there myself?" The short answer is: sometimes, yeah. But there's definitely a right way and a wrong way to do it, and getting it wrong can actually cost you more than just wasted time.
Before You Even Buy a Batt
First off, figure out what you're insulating. Is it an attic? An exterior wall? Or an interior wall just for soundproofing? Each spot has its own little quirks. For attics, you'll generally look at fiberglass or mineral wool batts. They come with different R-values, which is really just a fancy way of saying how well they stop heat from moving through. Here in Cibolo, with our scorching summers and those occasional dips below freezing, you absolutely want a good R-value. For attics, I usually tell folks to aim for R-38 or higher in new builds, but if you're just adding to what's already there, you'll need to check what R-value you've got.
Next, measure everything. You need to know the width of your joist or stud bays – they're usually 16 or 24 inches on center – and the depth. Batts are made to fit snugly, you know? Don't just eyeball it; a tape measure is your best friend here. Also, check for any moisture issues. If you spot leaks or water stains, you have to fix that first. Putting insulation over a wet spot is just asking for mold and rot, and believe me, that's a whole different, much more expensive headache.
What kind of batt should you get? Fiberglass is pretty common and affordable. Mineral wool (sometimes called rock wool) is denser, does a better job at dampening sound, and it's more fire-resistant. It costs a bit more, sure, but it's worth thinking about for certain jobs. And hey, don't forget your safety gear: a good respirator (N95 or better), gloves, long sleeves, long pants, and eye protection. Fiberglass fibers are super itchy, and you definitely don't want to breathe them in.
Getting Down to Business: The Installation
This is where most DIYers either really shine or totally get into trouble. The biggest mistake I see? Squishing the batts. Insulation works because it traps air. If you compress it, you actually reduce its R-value. It's kind of like wearing a thin t-shirt in winter instead of a puffy jacket, right? So, no cramming. Batts should fit snugly, but never be compressed.
For attics, if you're adding a second layer over existing insulation, lay the new batts perpendicular to the joists. This helps cover any thermal bridging, which is where heat can sneak out through the wood. Make sure you don't cover any attic vents, especially soffit vents. You need airflow up there to stop moisture from building up and to keep your roof deck cooler. I've seen folks completely block off their soffit vents, especially in older Cibolo homes where the attic access is tight, and that's just a recipe for disaster.
When you're cutting batts, use a sharp utility knife and a straight edge. Cut them a little wider than the space you're filling so they friction-fit. For walls, make sure the vapor barrier (if your batts have one, usually kraft paper facing) faces the conditioned space – that's the side of the wall that's warm in winter. In our climate, that's usually the interior side. Staple the flanges to the studs. Don't leave gaps around electrical boxes or pipes. Cut the insulation to fit around them, don't just compress it, okay?
Here's the thing: insulating an open, easy-to-access attic floor? That's probably something you can handle. But insulating complex wall cavities with lots of obstructions, or trying to squeeze into tight, cramped crawl spaces? That's when you should really think about calling a professional. We've got the tools, the experience, and frankly, the tolerance for those miserable spaces. Plus, we know all the tricks for sealing up those little air leaks that can totally undermine even the best insulation job.
After the Batts Are In
Once you've got everything installed, do a visual inspection. Are there any gaps? Any squished areas? Are all your vents clear? If you've done a good job, you should notice a difference pretty quickly, especially in your energy bills. Your HVAC system won't have to work as hard to keep your home comfortable, which is always a win.
Now, when should you call someone like us at Heritage Insulation Solutions? If you're dealing with a whole-house re-insulation project, if you suspect mold or pest issues, if your attic is a nightmare to navigate, or if you're just not confident you can get that perfect, gap-free fit, give us a shout. A professional insulation job isn't just about throwing batts around; it's about air sealing, getting the right R-value, and making sure everything works together to keep your home efficient and comfortable for years to come. Sometimes, saving a few bucks upfront can really cost you a lot more in the long run, don't you think?